How to Set Up an Email Opt In Page
Landing pages are an indispensable tool in the arsenal of digital marketers, offering a focused space to capture leads, promote products, or convey a specific message. Mailchimp, a renowned email marketing platform, provides an intuitive interface for creating impactful landing pages that drive email collection and engagement. In this guide, we’ll walk you through the process of setting up an email opt in landing page using Mailchimp.
Step 1: Log into Your Mailchimp Account
If you don’t have a Mailchimp account, you’ll need to create one here. Once you’re logged in, navigate to the “Campaigns” tab on the main dashboard.
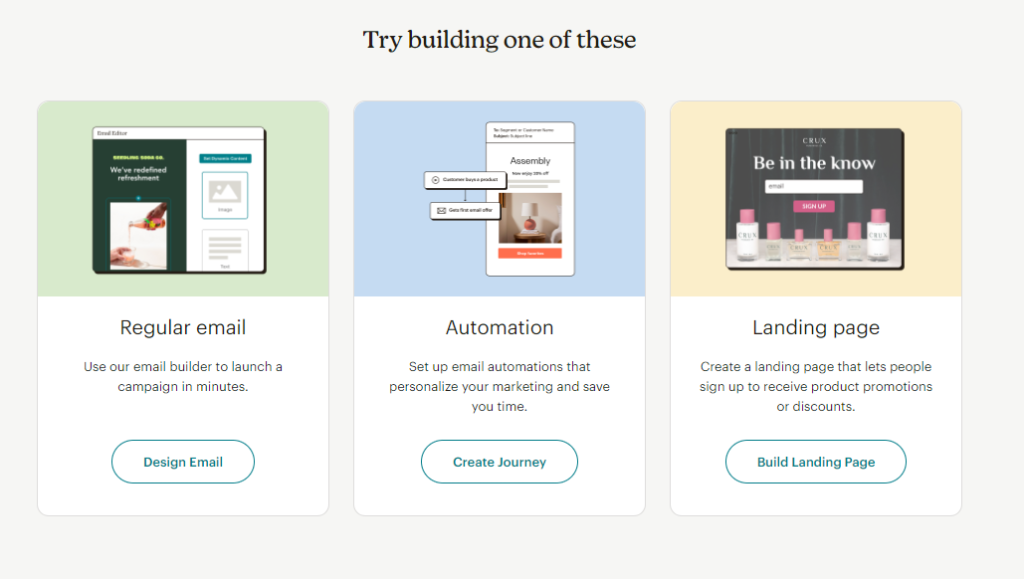
Step 2: Create a New Campaign
Click on the “Create Campaign” button and choose “Build Landing Page.”
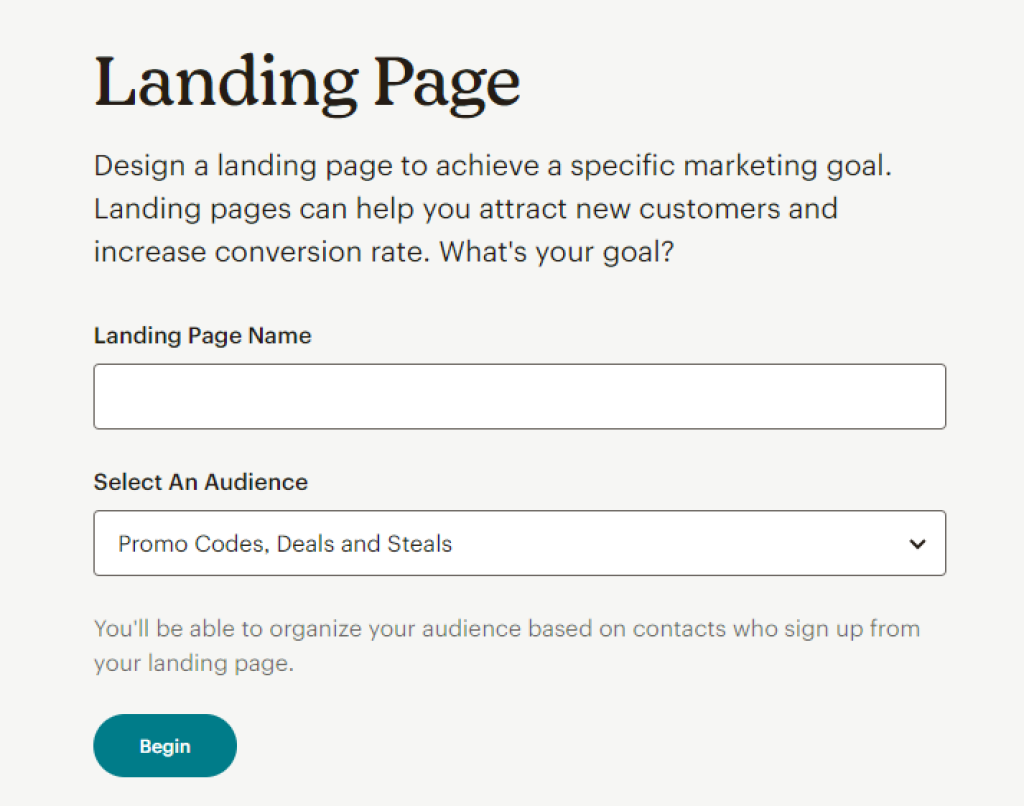
Step 3: Name Your Landing Page
Give your landing page a name and select the audience new subscribers will be added to. Then, click “Begin”.

Step 4: Select at Template
Mailchimp offers a selection of customizable templates to simplify the design process. Browse through the templates and pick one that aligns with your campaign’s goal. Remember, a clean and visually appealing design often yields the best results. I’d suggest choosing the “Grow Your List” template.

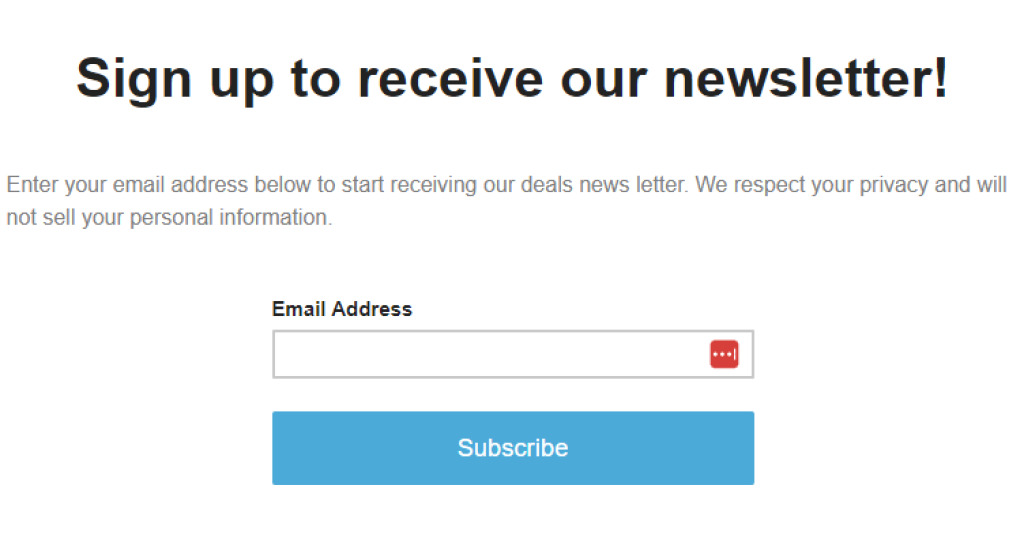
Step 5: Add Form Blocks
This is where you customize the sign up page using the form blocks and style editor. To add a form block, simply drag and drop it onto the page. Edit the form fields to include the information you want to collect, typically the email address at the very least.
Step 6: Set Up Email Marketing Integration
You can integrate your landing page with your Mailchimp email list seamlessly. Click on the form block, and you’ll find options to connect it to an audience list in your Mailchimp account. This ensures that email addresses collected on the landing page are automatically added to your email list.
Step 7: Configure Thank You Page
After someone submits their email through the form, you can redirect them to a thank you page. This is an opportunity to provide additional information, a special offer, or simply express gratitude. Customize the thank you page to make it relevant and engaging.
Step 9: Review and Publish
Before launching your landing page, thoroughly review it for any errors or inconsistencies. Make sure all links and forms are working as intended. Once you’re satisfied, hit the “Publish” button.
Step 10: Share Your Landing Page
Now that your landing page is live, it’s time to share it. You can distribute the link through your website, social media, email campaigns, or any other relevant channels.
Step 11: Monitor Performance
After your landing page is live, keep a close eye on its performance using Mailchimp’s analytics tools. Monitor metrics like conversion rates, bounce rates, and engagement to assess the effectiveness of your email collection efforts.
By following these steps, you can create a compelling landing page using Mailchimp that effectively collects email addresses and contributes to the growth of your email marketing list. Remember that testing and iterating are essential for optimizing your landing page’s performance over time.
Other Affiliate Articles
- Get Started With Email Marketing
- What’s Hurting Your Facebook Reach
- Write Better Affiliate Marketing Posts
Shop Our Partners
Links on this page may be affiliate links.


