Refinishing cabinets can give your kitchen or bathroom a fresh, modern look without the hassle and expense of a complete remodel. The Rust-Oleum Transformations Cabinet Refinishing Kit is designed for homeowners looking to tackle this project themselves.
This kit is ideal for DIYers because it eliminates the need for sanding, which can be time-consuming and messy. It’s also designed to bond with most cabinet surfaces, including wood, laminate, and melamine. Whether you’re a beginner or have some experience with painting, the Rust-Oleum kit provides great looking results without all the hassles of traditional refinishing and the expense of buying new cabinets.
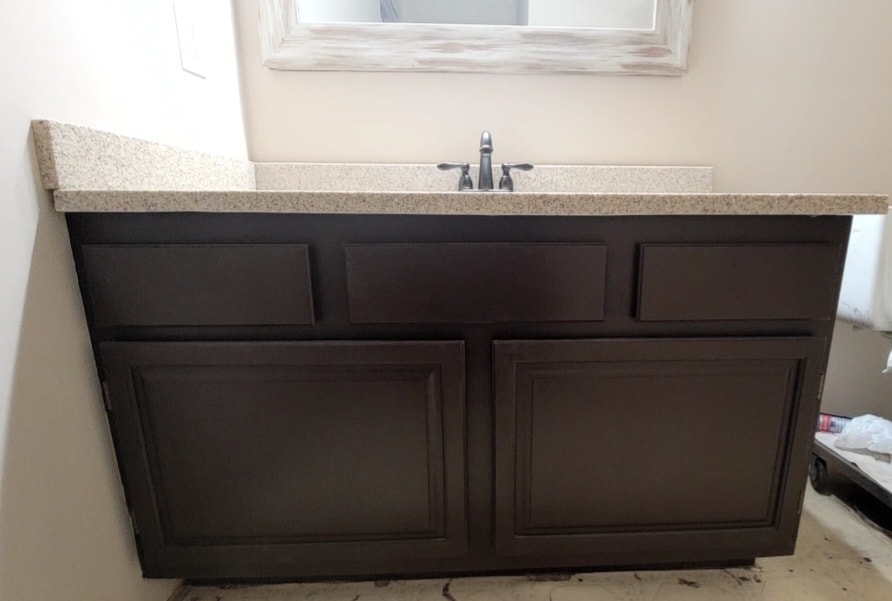
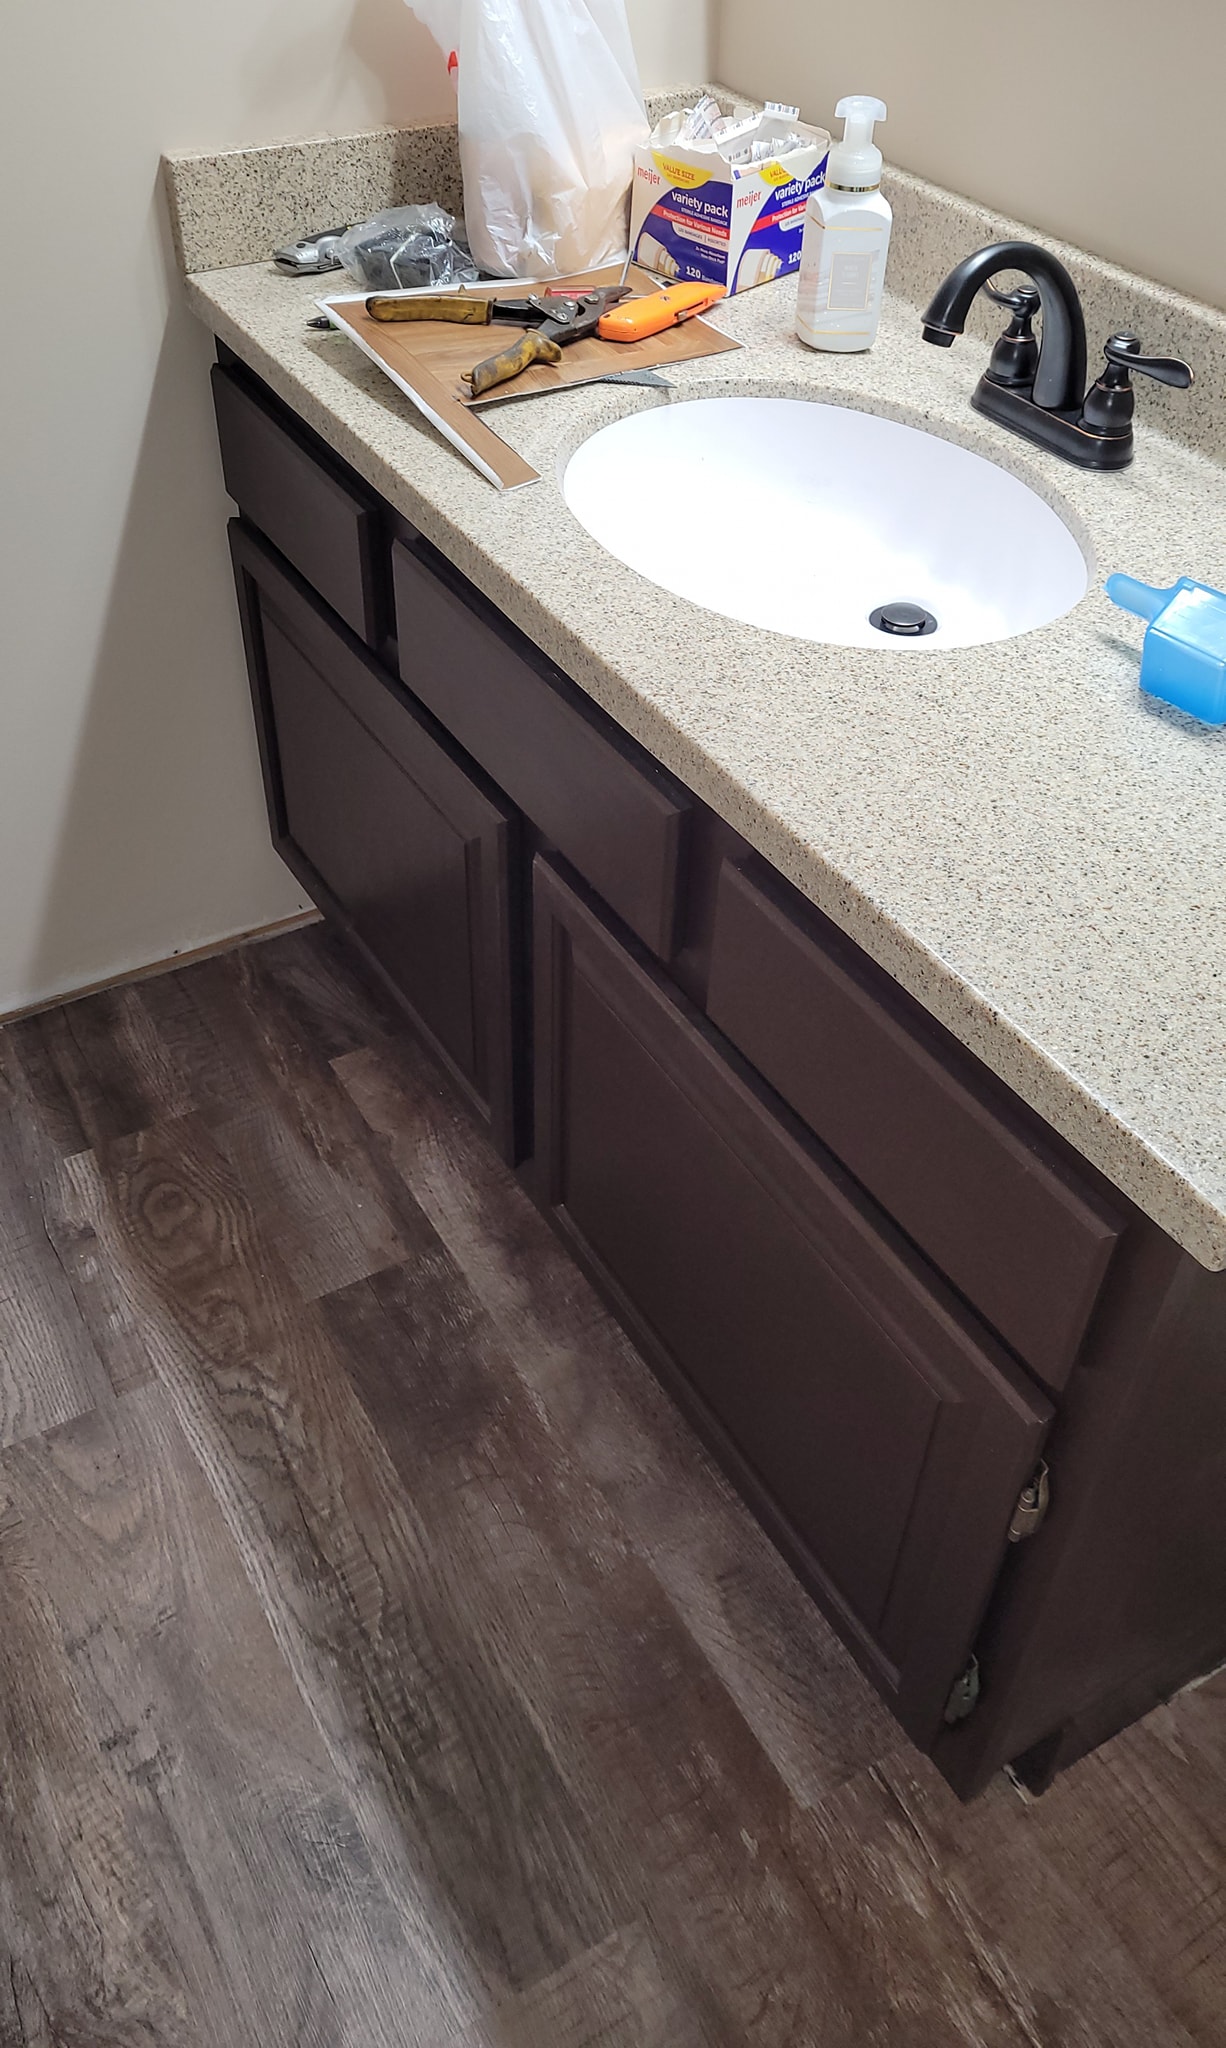
In this article, I’ll walk you how to refinish your cabinets with this user-friendly kit. I used this kit to transform our 90’s honey oak bathroom vanity into a modern looking bathroom centerpiece.

What’s Included in the Rust-Oleum Cabinet Refinishing Kit?
The kit contains everything you need to refinish your cabinets. Here’s what you’ll find inside:
- Deglosser (to prep the surface without sanding)
- Bond Coat (base color paint available in various finishes)
- Decorative Glaze (optional, for a weathered or antique look)
- Protective Top Coat (seals the finish)
- Scrub pads, paint stir sticks, and instructional DVD
Here’s How Easy It Is To Refinish Your Cabinets
Before You Start
As with any painting or refinishing product, prep work is essential for outstanding results. Remember, cheap tools usually produce less than impressive results. Quality tools cost just a bit more but will last for years if cared for.
Step-by-Step Guide to Refinishing Your Cabinets
Step 1: Prepare the Area
Clear your workspace by removing all items from the cabinets. Detach cabinet doors, drawers, and any hardware (hinges, knobs, etc.). Place everything on a flat surface and label pieces to make reassembly easier. Cover countertops and floors with drop cloths or plastic sheeting to protect them from splatters.
Step 2: Clean and Degloss the Cabinets
I recommend cleaning your cabinets thoroughly before doing anything. A good degrease such as Simple Green will help remove grease, oils and other contaminants that could later cause adhesion problems. This is especially important when refinishing kitchen cabinets. I suggest doing this cleaning twice.
After the initial cleanings, I use the deglosser provided in the kit to remove grease, dirt, and old finish. This eliminates the need for sanding and ensures the bond coat will adhere. (If you cabinet or vanity has a heavy gloss, you may want to lightly sand the surface with 220 grit sandpaper as an extra precaution.)
- Apply the deglosser using the scrub pads.
- Work in small sections and follow the grain of the wood.
- Wipe off the excess with a clean cloth.
Allow the cabinets to dry completely before moving on. I suggest waiting 12 to 24 hours.
Step 3: Apply the Bond Coat (Base Color)
The bond coat is the paint that gives your cabinets their new look.
- Stir the paint well before use. (let any bubbles settle before using)
- Use a high-quality brush or foam roller to apply the bond coat in thin, even layers.
- Begin with the inner panels of the cabinet doors, then move to the outer frame.
- Apply two coats, allowing the first coat to dry for at least 3 hours before adding the second coat.
Step 4: Add Decorative Glaze (Optional)
If you want a more rustic or antique look, apply the decorative glaze after the bond coat has dried. I opted not to complete this step. It’s totally up to you.
- Brush the glaze onto the surface and immediately wipe away the excess with a clean rag, following the wood grain.
- The more you wipe, the lighter the effect.
- Allow the glaze to dry for 8 hours before sealing.
Step 5: Apply the Protective Top Coat
The final step is to protect your work with the top coat, which adds durability and a smooth finish.
- Apply the top coat in even strokes, making sure not to overwork it to avoid streaks.
- Allow it to dry for at least 12 hours before reassembling the cabinets.
- The top coat will fully cure in 24 hours.
Tip: The longer you wait for the top coat to dry before using it, the less likely you are to damage the newly finished surfaces.
Step 6: Reassemble Your Cabinets
Once everything is dry, reinstall the cabinet doors, drawers, and hardware. If you’ve opted for new handles or knobs, now is the perfect time to attach them for an updated look.
Pro Tips for a Smooth Cabinet Refinishing Process
- Work in a well-ventilated area: This ensures proper drying and minimizes exposure to fumes.
- Test colors on a small area before committing to the whole surface, especially if you’re using the glaze.
- Use high-quality brushes to prevent brush strokes and bristle marks.
- Label all doors and hardware to make reinstallation smooth and easy.
- Be patient: Follow drying times closely to avoid smudging or damaging the finish.
Final Thoughts
Refinishing cabinets with the Rust-Oleum Transformations Cabinet Refinishing Kit is an affordable and effective way to give your kitchen or bathroom a facelift. With patience and careful preparation, you’ll be rewarded with cabinets that look brand new without breaking the bank. Follow the steps outlined above, and soon your refreshed cabinets will be the highlight of your space.
Now is the perfect time to take on that DIY project! Happy refinishing!
Supplies and Tools
Here’s the tools and supplies I recommend to help you acheive beautiful and long lasting results.


Shop some of my favorite tools: Jim’s Tool Box
Links on this page may be affiliate links. We may earn a small commission when readers click a link and make a purchase.


